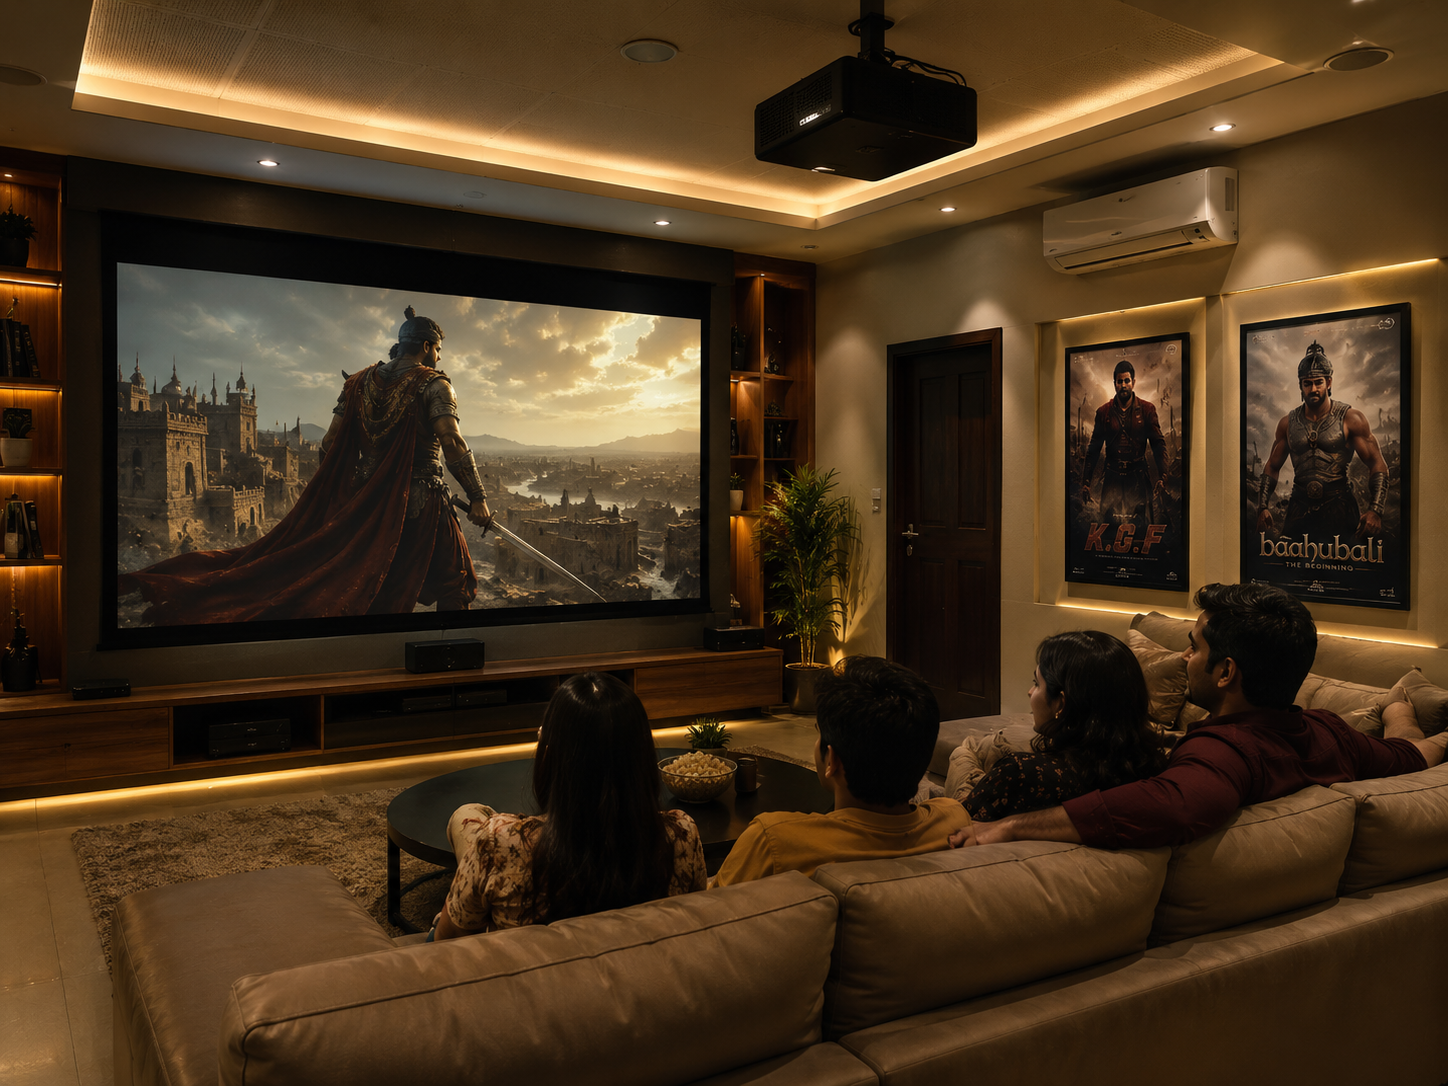
A great home theatre isn't just a big screen in a dark room — it's a handful of decisions made correctly before installation day. Here's the order we recommend working through them.
1. Decide your screen size first
Screen size should be based on seating distance, not wall space. As a rule of thumb, viewing distance should be roughly 1.5–2x the screen's diagonal size for a comfortable, immersive experience.
2. Confirm throw distance
Once you know your screen size, check the projector's throw ratio against the actual distance from your mounting point to the screen — this determines whether a short-throw or standard-throw unit is right for your room.
3. Control ambient light
Even the brightest LED projector looks washed out against daylight or bright ceiling lights. Blackout curtains or dimmable lighting make a bigger visual difference than most people expect.
4. Plan sound separately from picture
A dedicated soundbar or surround system transforms the experience far more than upgrading resolution alone. Plan speaker placement and cable routing at the same time as the projector mount.
5. Get it professionally mounted and calibrated
Ceiling mounting, cable concealment and keystone/focus calibration are easy to get wrong on a DIY install. A professional setup avoids a crooked image and visible wiring.
DigiCast designs and installs complete home theatre systems end-to-end. See our Home Theatre & AV Room solutions or book a free consultation.
Need this for your institution?
Talk to our team for a free quote, demo or site assessment.
Trending tags